
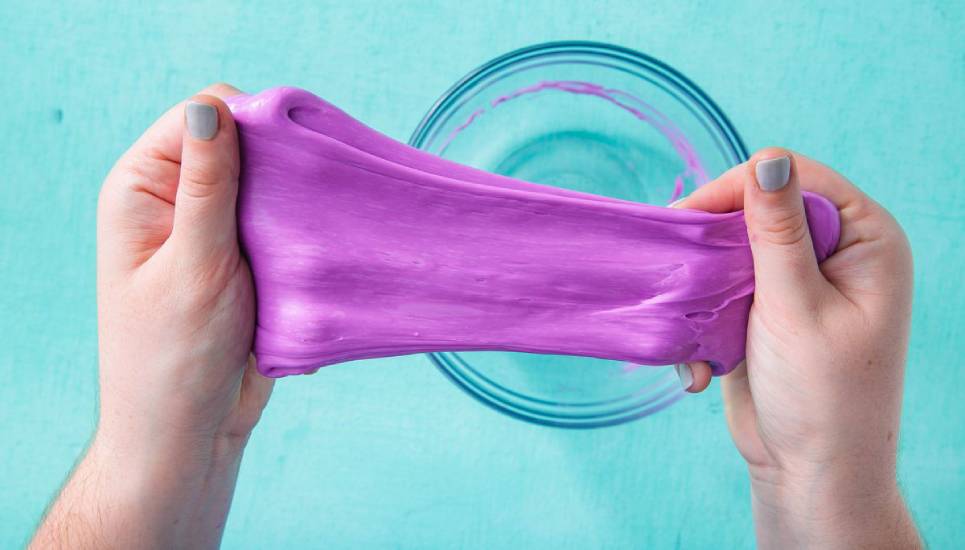
How to make slime with household items
Today we are going to dive into the colourful and squishy realm of creating slime, a truly captivating activity for both kids and kids-at-heart.
Get ready to unleash your creativity and embark on a journey filled with gooey fun!
Making slime has become a beloved pastime, captivating the imaginations of children everywhere. It’s not just about the end result; it’s the entire process that brings joy and endless entertainment. And the best part? It’s remarkably easy to make. From measuring ingredients to mixing vibrant colours, making slime together with a child can be a delightful bonding experience, fostering creativity and unleashing a world of imagination.
We will guide you through the steps of creating your very own slime. We’ll explore various recipes, from glittery slime to fluffy slime, and even introduce some quirky twists like scented or glow-in-the-dark slime.
So, roll up your sleeves, gather your ingredients, and prepare to embark on a delightful slime-making adventure that will leave you smiling from ear to ear.
Let’s dive into the magical world of slime and let our imaginations run wild!
4 Ingredient Slime Recipe
What you will need:
- Toothpaste
- A bowl
- A microwave
- Food colouring
- Skin lotion
- baby oil
Add the toothpaste and food colouring into a bowl. Mix everything together so the food colouring is well mixed with the toothpaste. Next, place the bowl in microwave and set the timer to 30 seconds. Do this process several times until the mixture looks like it has become stretchy.
Be careful when taking the bowl out of the microwave as it will be very hot.
When you are happy with the constancy of the slime, let it cool down.
Once cold, start to kneed the slime until it start to firm up. Add some lotion and some baby oil to the slime. Doing so will make the slime a lot less sticky when handling.
Kneed for a few minutes more, and there you have it. Your first homemade slime!
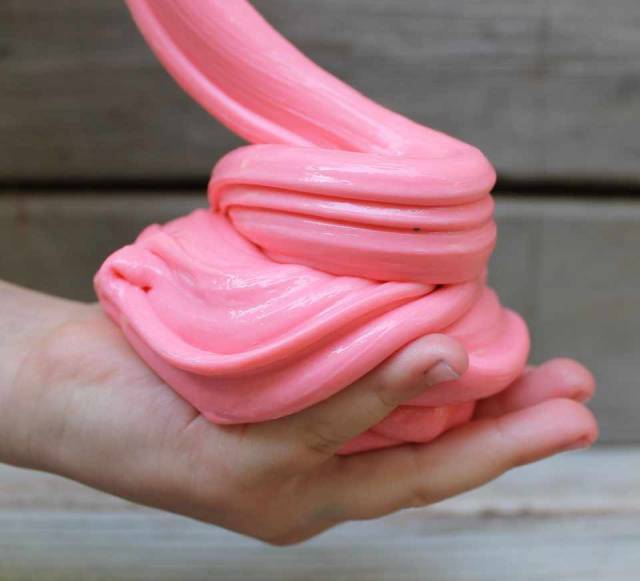
Fluffy Slime Recipe
To make your fluffy slime you will need the main ingredient of shampoo (the thicker, the more satisfying) and cornstarch. Get ready to bring your imagination to life with the following step-by-step guide.
Our steps:
- Put 1/2 cup shampoo and 1/4 cup of cornstarch in a bowl.
- Mix well.
- Add 3 drops of food colouring (optional).
- Add 1 tablespoon of water and stir. Slowly add 5 more tablespoons of water, stirring well after each one.
- Knead the slime for around 5 minutes.
If the slime seems to be too sticky, keep adding cornstarch to the mixture, until you have found the right consistancy. We have found that semi-hard, semi-stretchy, moist, light, almost dough-like slime, is the best consistency.
Volcano Slime Recipe
To start this volcanic adventure, all you need are two simple ingredients: white school glue and cornstarch. Let’s dive into the step-by-step process of creating this enchanting fluffy volcano slime:
- Pour 1/4 cup white school glue and a 1/2 cup of cornstarch in a bowl.
- Add 3 drops of food colouring (optional).
- Mix it well.
- Knead it with your hands for 10 minutes.
- Heat it in the microwave for 20 seconds.
- Let it cool, then knead it for another 10 minutes.
Stretchy sand slime Recipe
This recipe, we have found is the closest we can get to store bought slime.
To start this tactile adventure, gather the following ingredients: white school glue, baking soda, and contact lens solution.
Now, let’s dive into the step-by-step directions to unlock the magic of this extraordinary creation:
- Pour 1 cup glue into a bowl.
- Add 1 tablespoon of baking soda.
- Add three drops of food colouring (optional).
- Mix well.
- Add 1 tablespoon of contact lens solution.
- Mix well.
- Continue to add a tablespoon of contact lens solution and mixing until you get a nice consistency.
Playing with the dough will firm it up more, so if it seems a little soggy, just knead it for a few minutes.
Glitter Slime Recipe
Discover the joy of creating dazzling slime with the perfect combination of glitter glue and baking soda. If you’re already acquainted with the basic slime recipe, making this variation is a breeze. Instead of opting for traditional white glue, switch things up by using clear glue for a mesmerizing effect.
You have the choice of purchasing a bottle of ready-made glitter glue in your preferred colors or crafting your own by mixing fine glitter and food coloring with the clear glue.
Clear glue possesses its own unique qualities, necessitating a slight adjustment to the recipe. Here’s what you’ll need:
- A 4 oz. bottle of clear glue or colored glitter glue, carefully squeezed into a bowl
- 3 tablespoons of buffered or multipurpose contact lens solution, added to the glue
- 1 tablespoon of fine colored glitter (if not using premixed glitter glue)
- 2 teaspoons of Arm & Hammer baking soda
- 1 cup of hot water from the tap
- Begin by dissolving the baking soda in the hot water (ensure it’s not boiling) and allow it to cool down to room temperature.
Now, let’s dive into the slime-making process. Start by thoroughly mixing the glue and contact lens solution together.
Slowly incorporate the baking soda and water, adding small amounts at a time while continuously mixing.
Adjust the quantities until you achieve the desired texture for your slime. Remember not to add all the water at once, as you may not need it all.
By following this method, your slime will possess a captivating transparency and a generous sprinkling of sparkle.
SLIME FAQS
How long does slime last?
Slime doesnt go bad at all. But it does have a shelf life of around 3-4 weeks!
How do you play slime like a pro?
Follow our steps for 4 popular types of slime. We will be sure you will have a great time making slime!
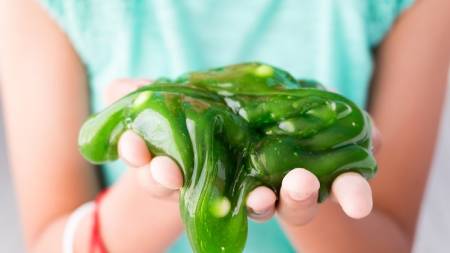
What is slime used for?
Squishing slime between fingers can be a great way to relieve stress. And some people just like it because it's gooey and fun to stretch


